Wooden Blocks
When we were much, much younger, my brother and I were lucky enough that our parents inherited a playset of large wooden blocks. These were about 50mm tall and 60mm wide, and of various lengths. If a single block was 50mm × 60mm × 60mm, and that was one "unit", the blocks were 1×1, 1×2, 1×4, and 2×2.
He and I are both now parents ourselves and our kids are of the age where they love toys like that, so I set about making a set for his kids as a Christmas present. I'll be making a set for my own kids once we have the space for them.
They took a couple of months of weekends, provided the excuse to pick up a few new tools, created an unholy amount of dust and woodchips, and were a lot of fun to make. His kids seem to like them as well.
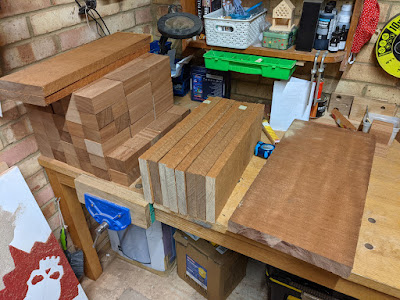
The blocks themselves were pretty simple, just involved a metric ton of sanding. They're 50mm tall, 67mm wide, and 67mm or multiples thereof in length. I made 1×1, 1×2, 1×4 blocks, just like the original set. I didn't bother with the 2×2 blocks, we didn't get much use out of those as kids. I also added a few 1×3 blocks, and eight half-height (25mm tall) 1×6 blocks, which should be good for spanning gaps.
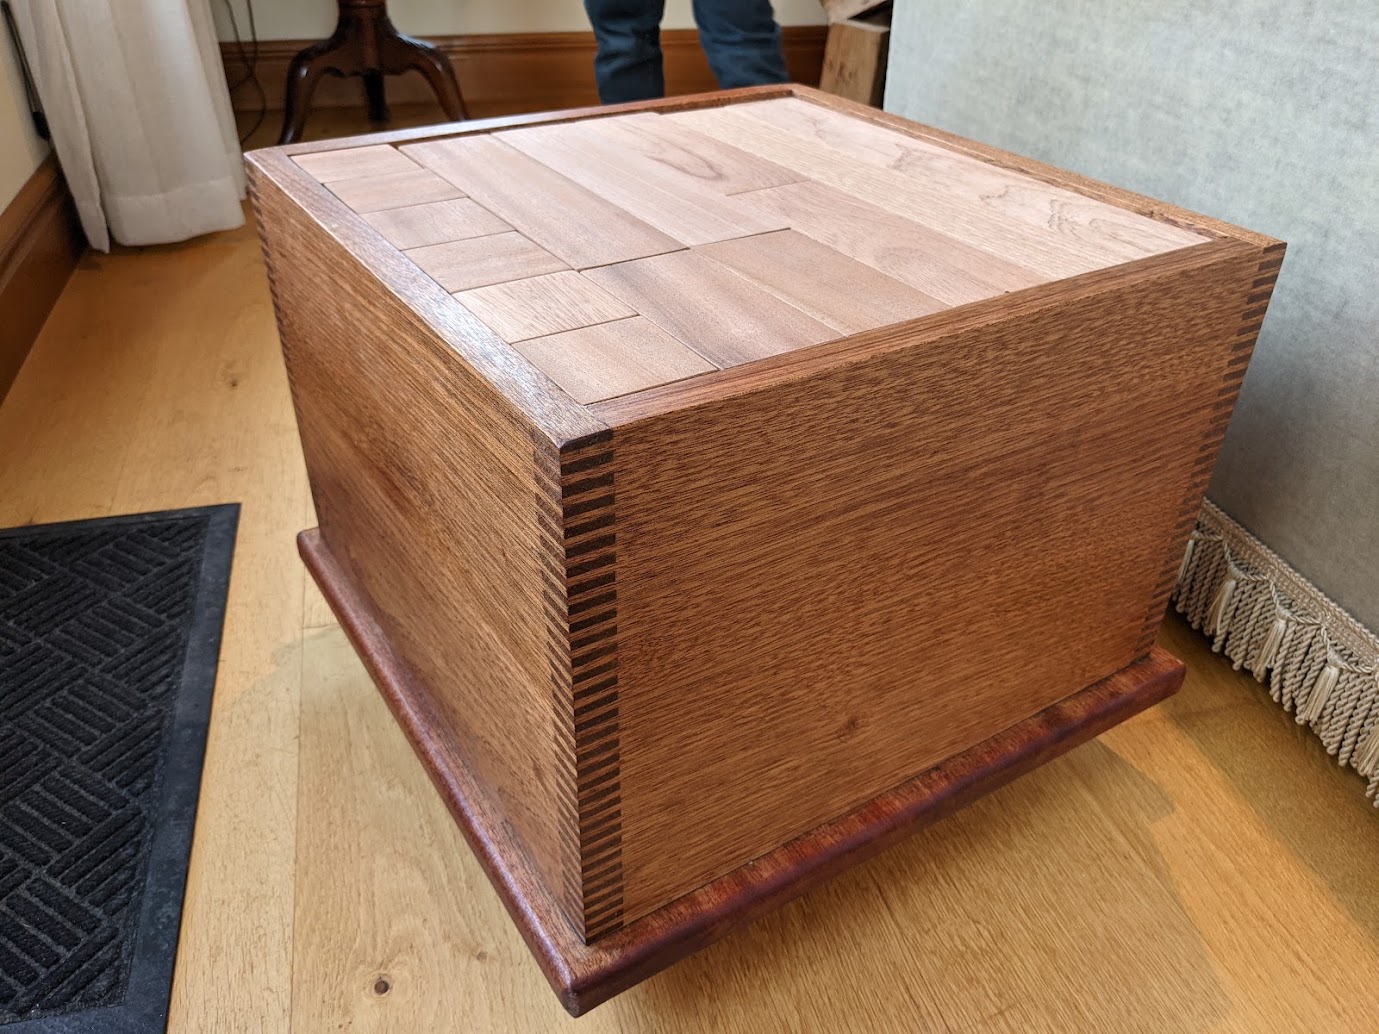
The box was more complicated. It needed to be large enough to accommodate the blocks, and they're heavy - they weigh just over 32kg by themselves. There needed to be enough clearance to extricate the blocks. The original set was also almost impossible for a child to move, and I wanted this to be more mobile. In the end I went for a relatively simple lidless box on castors.
The sides were joined with finger joints cut on the table saw. That was pretty painful; two of the joints went together easily, but on the other two I'd somehow made a few cuts slightly too wide (I think the finger joint jig I made for this project is a bit too loose and wobbly) on one side, so the fingers aligned at one end but overlapped at the other. It took some manual chisel work to get it to fit, and then some very thin strips inserted into the gaps to make it look better.
The base was a huge chunk, almost too large for the table saw, but it worked out eventually. I opted to glue it and put through screws from below, into the sides, as I thought that would be the most secure way to keep the whole thing together.
For a finish, I applied three coats of Danish oil. It might need another, the wood was soaking it up. Finally, I added some medium castors, wrapped it in Christmassy wrapping paper, and sent it onwards to its new home.
Gallery